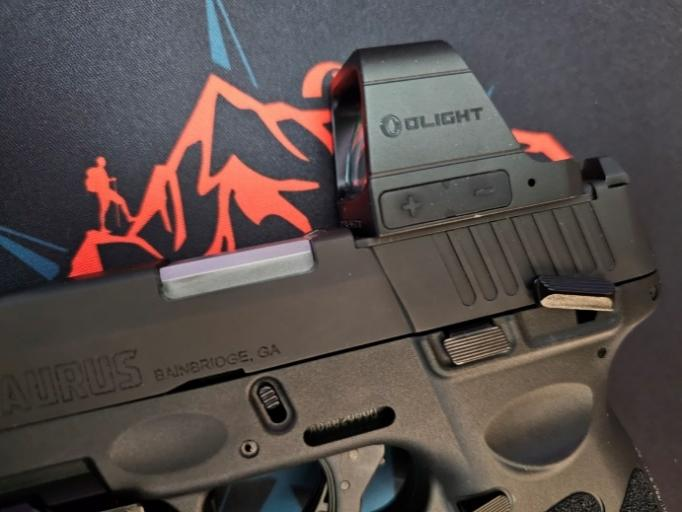
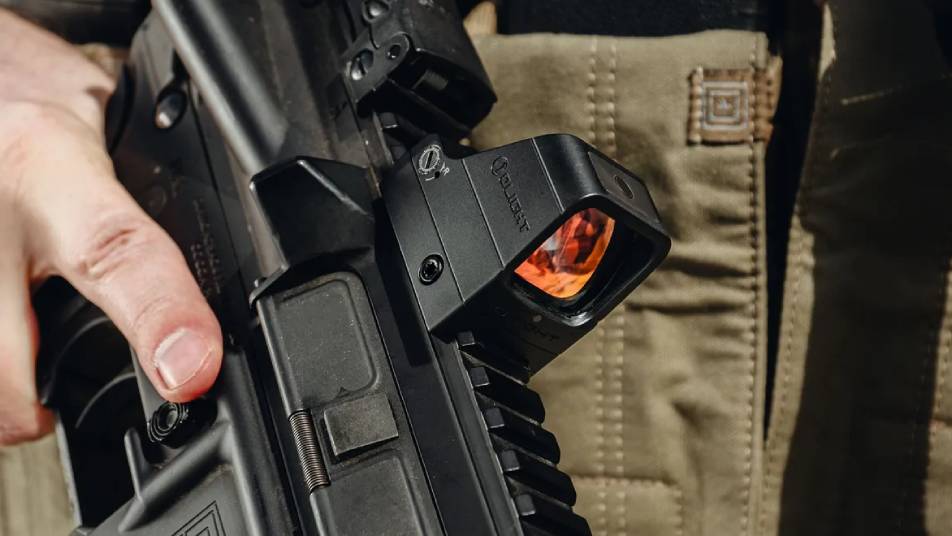
So, you’ve decided to take your shooting game to the next level by mounting an Osight red dot sight on your trusty firearm. A red dot sight can enhance your accuracy, improve target acquisition speed, and elevate your overall shooting experience. But exactly how to mount a red dot on a firearm? Don’t worry; we’ve got you covered! This comprehensive guide will walk you through the steps to successfully mount a red dot sight on your firearm, ensuring a secure and reliable setup. Click here to know more!
1.Osight Mounting
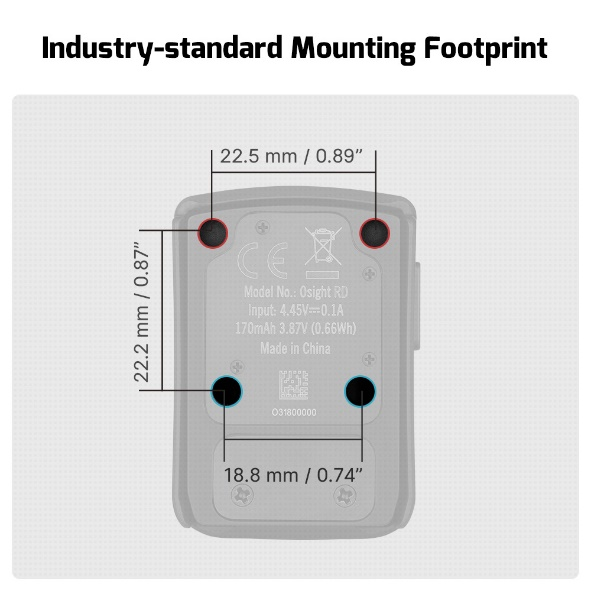
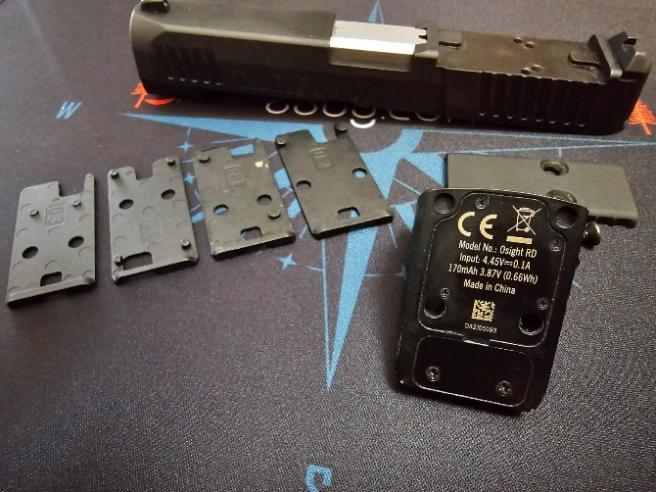
Your Osight optic utilizes the industry-standard mounting footprint (seen in the picture below) which is the most common footprint on the market today.
Remember to always treat a firearm as if it was loaded. Make sure the firearm is cleared and keep all ammunition away from your workspace. I also recommend that the slide be removed for safety and to make it easier to work with.
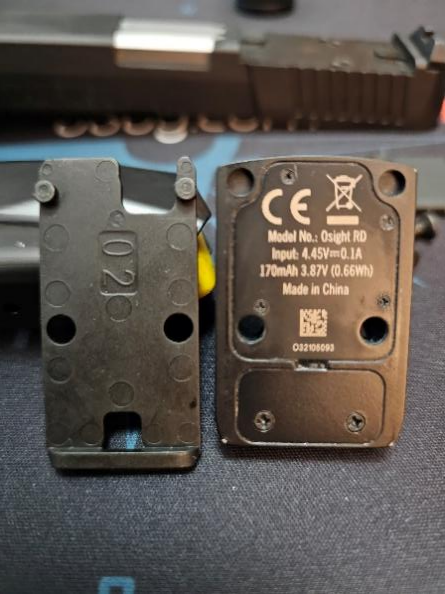
2.Assessing Your Firearm’s Mounting Options
It is essential to evaluate the mounting options for your firearm. There are three primary ways to mount a red dot sight on a firearm:
Cut Slide
This is usually noted by your firearm manufacturer as an “Optic Ready” firearm.
If you do not have a firearm that comes with a slide cut you can buy an aftermarket cut slide or have a gunsmith mill your existing slide to your desired specifications.
Rear Slide Mount
If your firearm lacks a cut slide or you wish to retain your rear iron sight, using a rear sight mount may suit you. This technique uses the rear sight dovetail as a point of attachment for a mounting plate.
Substituting your rear sight with a mounting plate lets you securely fasten the red dot sight. Nonetheless, remember that this approach implies that you won’t be able to utilize your rear iron sight unless you use mounting plates with integrated backup sights.
Accessory Rail Mount
One way to mount a red dot sight on your firearm is by using an accessory rail mount.
This involves attaching the sight to the rail on your firearm, which provides stability and eliminates the need for a separate mounting plate.
3.Mounting your Osight Using a Mounting Plate
This section will discuss the steps involved in mounting a red dot sight using a mounting plate. This technique applies to both the cut slide and rear sight mount methods.
Step 1: Choosing a Compatible Mounting Plate
Selecting a mounting plate that matches your slide cut or rear sight dovetail is crucial. This is essential for a reliable and sturdy connection of the red dot sight.
If your mounting plate requires additional screws to attach the mounting plate to the slide continue to follow the instructions.
If your mounting plate just rests between your slide and your Osight without the need to screw down the adapter plate you may continue to step 3.
If you’re utilizing a factory red-dot-ready firearm, you may have to remove the pre-installed “blank” plate before putting in the mounting plate.
Step 2: Applying Thread Sealant
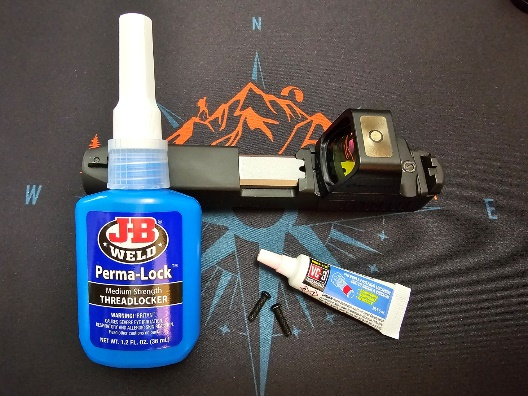
To ensure a secure installation, applying a small amount of Blue Loctite or a similar thread sealant like Vibra-Tite VC-3 onto your mounting screws is recommended before proceeding. This will prevent them from becoming loose over time due to recoil and vibrations.
Step 3: Attaching the Mounting Plate
To install the mounting plate on your firearm:
Carefully follow the manufacturer’s instructions and attach it to the designated holes on the slide.
Ensure the plate aligns perfectly with the slide cut or rear sight dovetail.
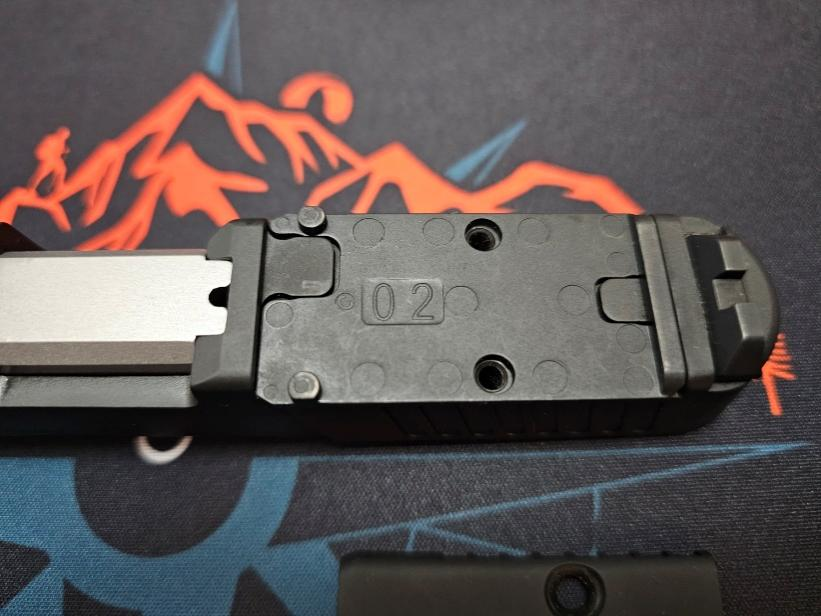
If your mounting plate uses additional screws to attach the plate to the slide use caution when driving the mounting screws into the plate, ensuring they fit snugly but avoiding overtightening. In my case, the mounting plate rests directly on the slide and utilizes the screws that attach the optic to slide.
Step 4: Mounting the Red Dot Sight using a mounting plate
To mount your red dot sight properly:
Ensure your OSIGHT lines up with the screw holes on the mounting plate.
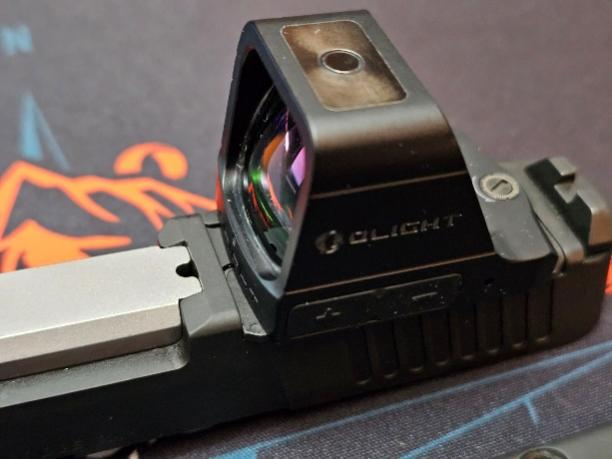
Utilize the screws that came with the OSIGHT or use the screws that the firearm manufacture provided.
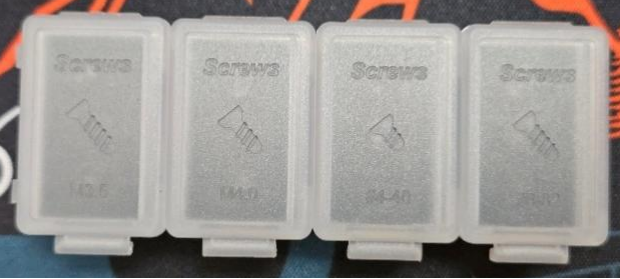
Make sure the screws protrude far enough but not too long from the bottom of the optic to fully engage the threads on your slide with the mounting plate. In my case I used the screws that Taurus provided since they were longer.
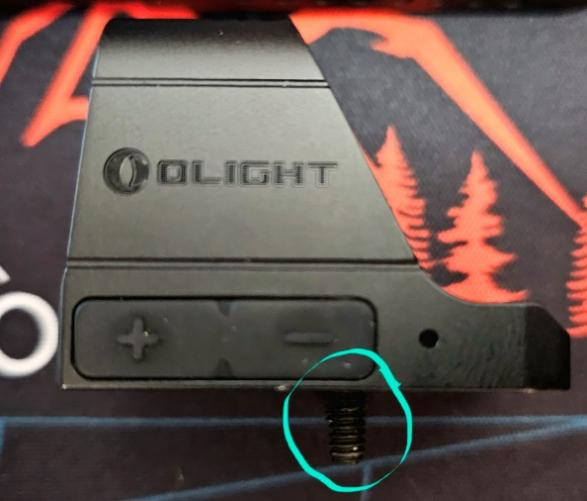
Apply Blue Loctite or a similar thread sealant to the screws before tightening them to achieve a secure fit.
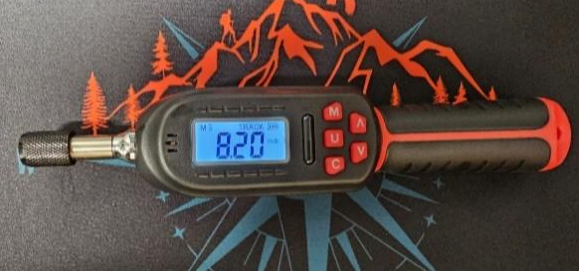
Avoid over-tightening the screws, which can harm the sight or mounting plate. Some firearm manufacturers specify the amount of torque to apply. In my case, Taurus indicated to use 8.2 in-lbs. of torque. I use a digital torque driver or my FIXIT STICKS toolkit which has a torque driver.
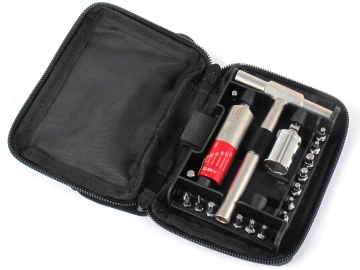
Olight recommends that 17 in-lbs. be used to mount the Osight but make sure to check the firearm manufactures recommended torque rating as well to avoid any damage to the optic, slide or the fasteners.
Once the screws have been installed with the proper thread locker put the firearm aside and let it sit for 12 hours to let the thread locker cure.
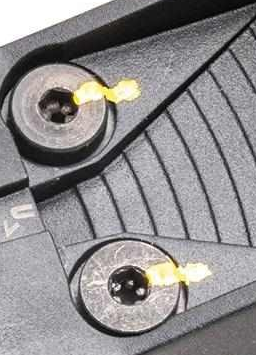
Once the screws are torqued to the proper in-lbs. I recommend that you mark the screw fasteners with a paint pen order to check at a quick glance for any movement that could result in a loose optic.
Conclusion
Adding the OSIGHT red or green dot sight to your firearm is a great way to improve your shooting performance.
Selecting the right mounting method is important to ensure a secure and reliable setup. You can choose from the cut slide, rear sight, or accessory rail mount methods, but always follow the manufacturer’s instructions and take proper precautions during installation.
With dedication and practice, you’ll enjoy the benefits of better accuracy and faster target acquisition. Make the most of your firearm by upgrading to an Olight Osight red or green dot sight and taking your shooting game to the next level!
